The start of the personal project was actually made because I was playing video games one night and my chagrining station had broken so knew that I new I could potentially build one in idea class I went for it.
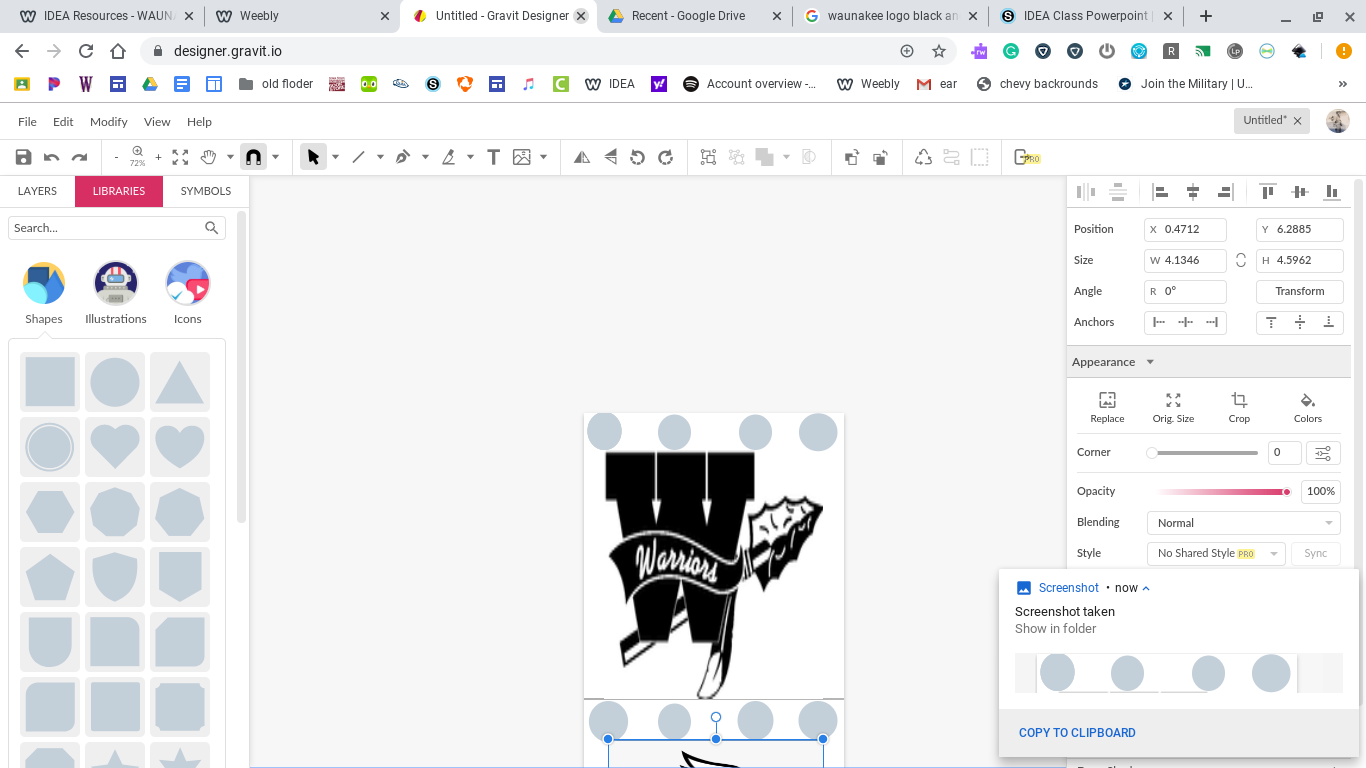
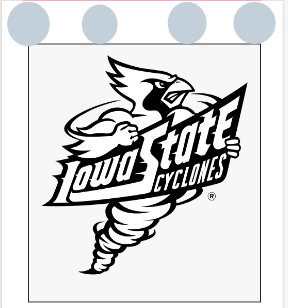
The first project I did was a notebook cover for the font and back sides of it. The first step was to make my project board sizes for both sides of the notebook. That was 4.25X5.5. Then I found my image on google that was black and white and I pasted it onto the project board. Then I made sure that the color I was using was A engraving color for the laser so it wouldn't cut all the way through. Then I repeated the steps on the other side with just a different picture.Then put holes where the notebook would clip into
Picture 1:

Picture 2:
Picture : 3
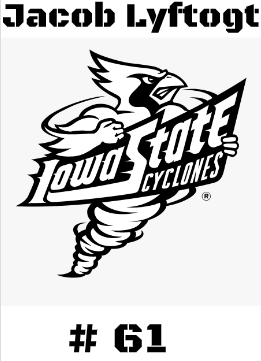
My next project was to make an engraving on a water bottle. The first thing I did was put in the correct measurements for the bottle to be able to rotate around and have designs on every part of the bottle. Next I took my favorite black and white logo and pasted it on the bottle then put it into and engraving color. . Then I put my text onto the bottle with the same engraving color.
Picture 1:

Picture 2:

Picture 3:
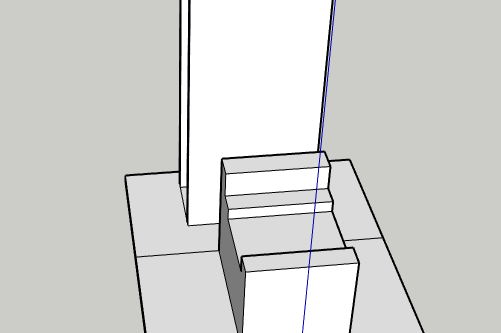
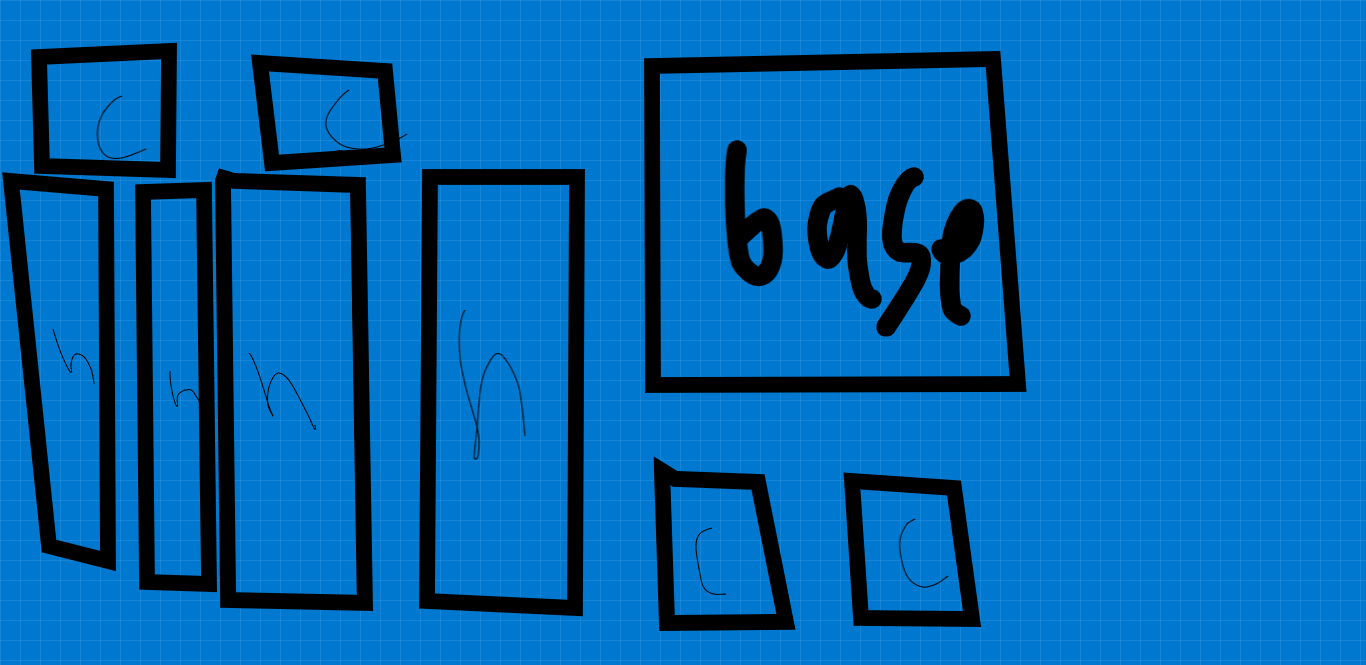
The last project was to build a item the could fold together. I decided to make a gaming mount that would hold my headphones and a controller. The first thing I did was sketch out all of the pieces that I would need to put together. Once I had those I started to put it together in a 3D Modeling website.
Picture 1:
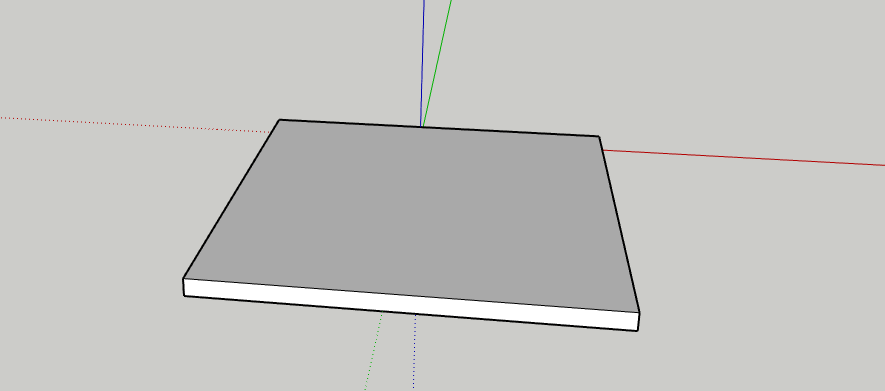
Picture 2:
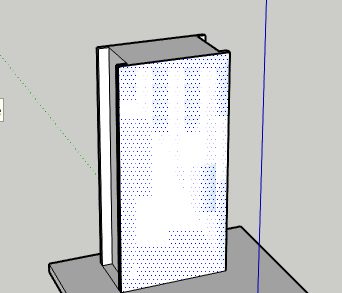
Picture 3:
Picture 4: